Using MADE
Getting Started
MADE is designed to be easy to use. You can jump right in without reading this documentation. Reading this will help you understand what MADE can do and make it faster to find the features you need.
You can access MADE from mobile devices (including tablets and smart phones) as well as desktop computers. Just point your web browser to https://www.gbls.org/MADE. The best web browser to use is Chrome or Mozilla Firefox, as some features (such as date selection) are easier to use on those browsers.
Some important features may not be obvious right away, such as editing your answers, sharing your interview with another person, or logging in to save your work. It is possible for one person to start the interview (such as a tenant on a mobile device) and then for another person (such an advocate or attorney) to print the completed documents after reviewing for any errors. Another workflow that might happen is for an advocate to complete most of the interview on a computer, send it for signature to the tenant to sign on their mobile phone, and then print the completed forms.
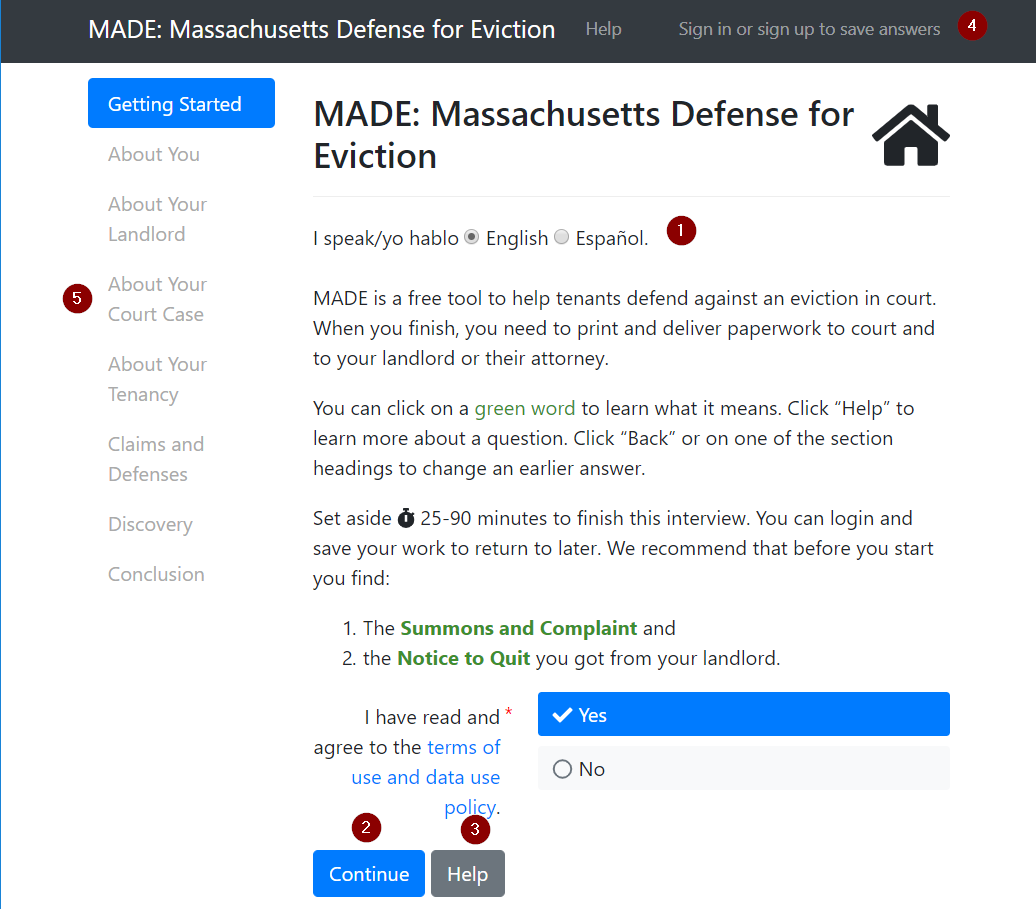
MADE's first screen gives you a very brief overview of the features.
- You can select a language (English and Spanish for now, with more coming).
- Each screen has a "Continue" button. Click continue when you have answered any questions on the screen, or to go to the next screen if the screen does not ask any questions.
- The Help button appears in two places: at the bottom of the screen next to the Continue button when there is help text specific to the questions that are being asked. It also appears at the top of the screen next to the Sign In or menu buttons.
- Your progress in the interview can be saved to return to later. Users have the choice of logging in with an email address, phone number, or Facebook account. You can create an account and log in at any time, and your current progress will be saved on the new or existing account. If you don't login to save your progress on an account, it will be available from the same computer and web browser for up to 90 days.
- The vertical section headings on the left show your progress in the interview. If you click one of the elements, you will also have a chance to review your answers in that section of the interview and make any changes that you need.
Accessibility and Text to Speech Functions
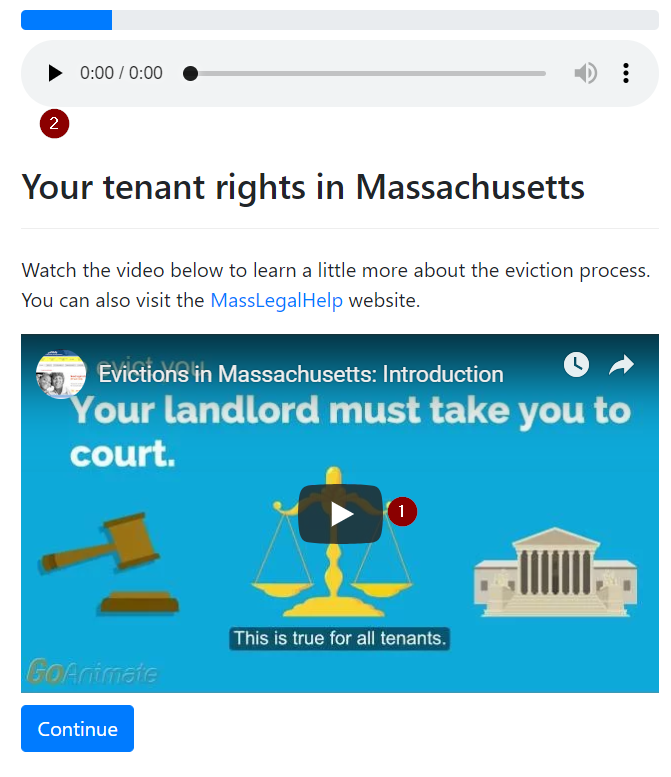
After the first screen, you have the ability to tell MADE to read the question aloud. Just click the small play button (looks like a triangle) marked at (2). There may be a short delay before the sound starts. MADE is communicating with a remote website that converts the text to audio. This feature is useful for people with limited vision who do not have a screen reader and for people with limited literacy. Text to speech works for both English and Spanish languages, although some elements may not be translated.
All videos are hosted on YouTube and include captions. You can enable auto-translated captions, which may be of varying quality depending on the language.
Adding Your Responses
The MADE interview includes check boxes, radio buttons, drop down menus, and free text entry fields. Some fields may check to make sure you enter valid information. These should be familiar and work the same as these fields do on other websites you've visited in the past.
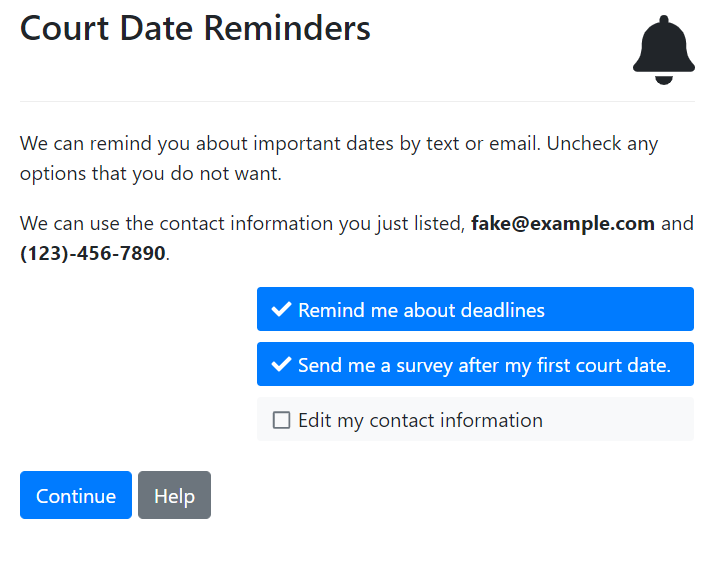
Sometimes MADE provides a default answer. You can always edit an answer that MADE has suggested. In the example screenshot, MADE has defaulted to sending you follow-up reminders about court deadlines. Click on the blue checkbox to uncheck the default response.
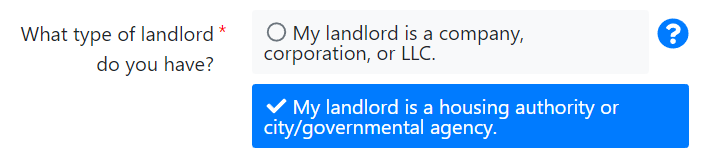
Radio button choices sometimes include a blue question mark. That means help information is available for the choice.
The red asterisk (*) means that you need to answer the question. Optional questions have no asterisk next to them.
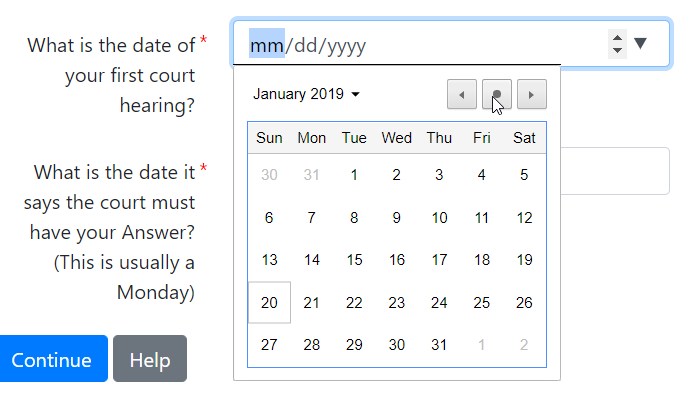
Date fields allow you to either type in an answer, or to select it from a calendar. This feature works differently in each web browser. On Google Chrome, click the small drop down menu to get a calendar that you can click through to select the right date. Clicking the small dot will choose today's date.
Reviewing and Updating an Answer
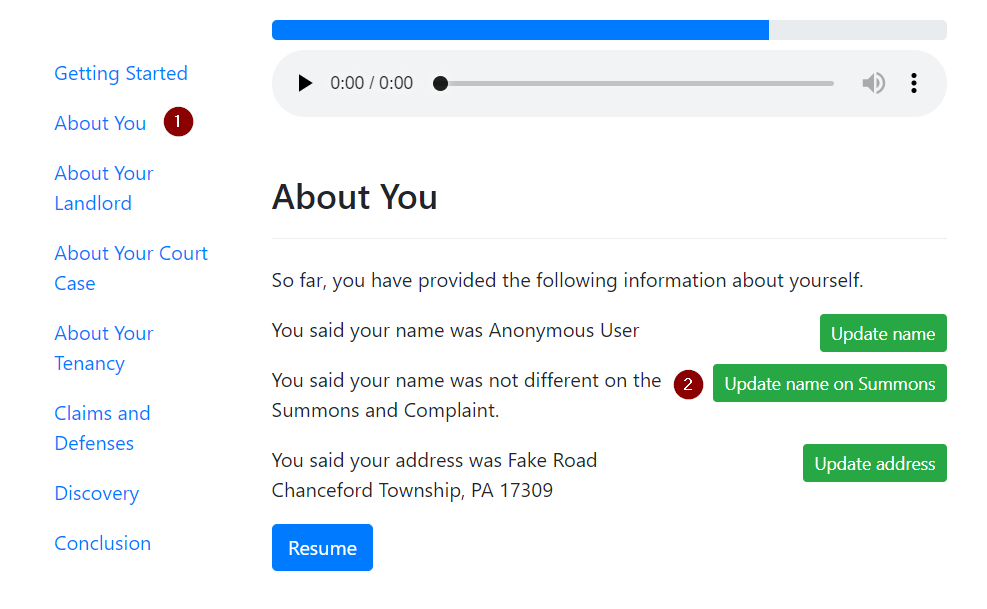
At any point, you can go back and edit an answer. (1) Click the section heading on the left where you provided the answer to edit it. (2) Then click the green button next to the answer you want to update. Only the answers you have already given will be shown. The list of answers you can edit will change as you progress through the interview.
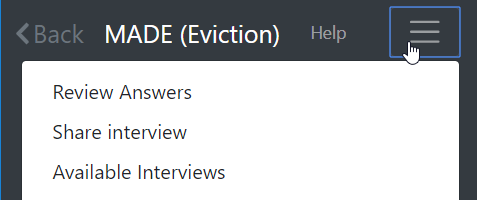
When you are taking the interview on a mobile device, the left navigation options are not displayed. Instead, click on the menu button ("hamburger" icon) and then click "Review Answers" to see the same list of interview sections.
Saving your Work
Your progress in the interview is automatically saved. If you are not signed in, the interview will be associated with the computer and web browser that was used to access it. Saved interviews are stored on the server for up to 90 days. It is recommended to sign in to make it easier to return to your work later. You can sign in with an email address and password, Facebook account, or using a mobile phone number. Advocates who are working with tenants over time may want to register for their own account, and allow tenants to save their work on that account.
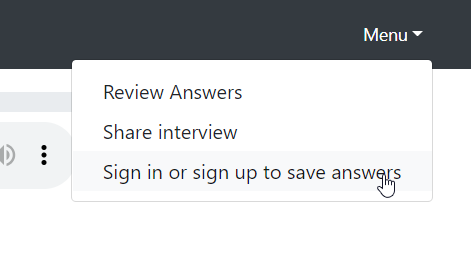
To sign in, click the Menu button and choose "Sign in or sign up to save answers".
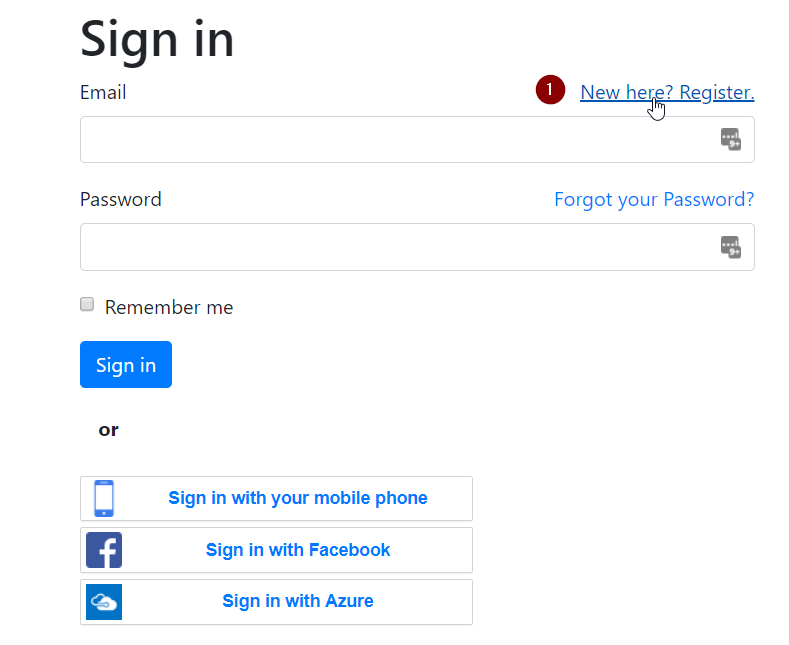
If you do not already have an account, click the Register link.
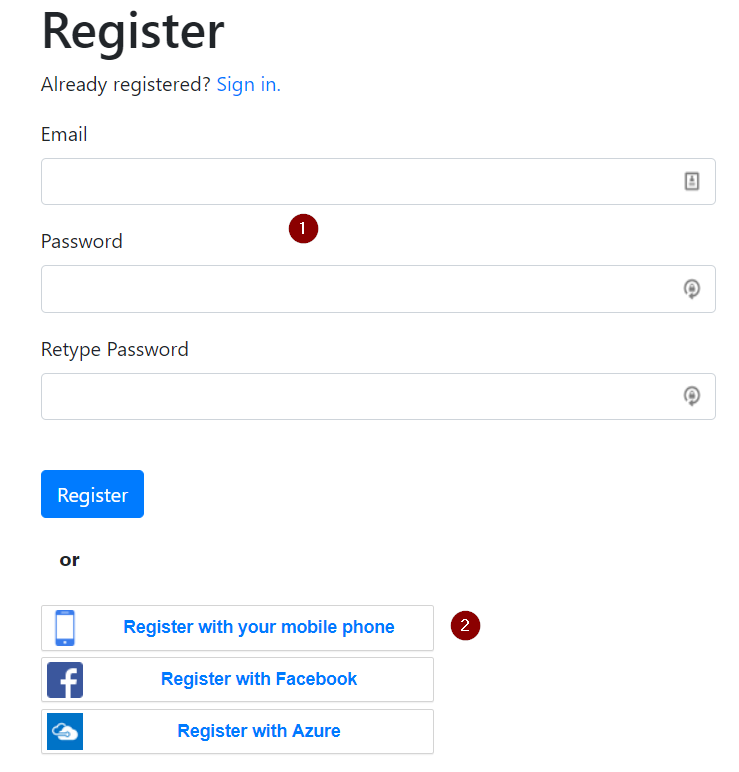
Either (1) enter an email and password of your choice, or choose one of the other options (register with a mobile phone or Facebook). Users are unlikely to make use of the "Azure" option.
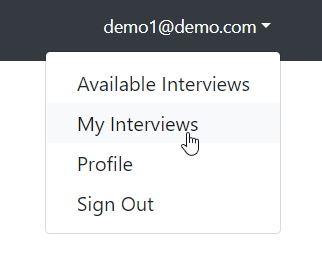
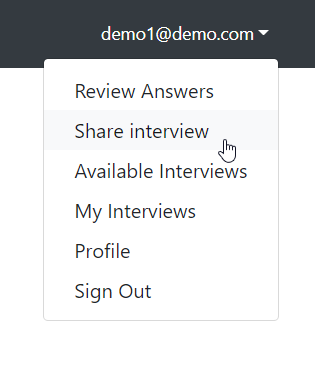
Once you are logged in, a new menu appears when you click on your login identifier (username, email address, or phone number). You can click on the "My Interviews" option on this menu to see a list of saved interview sessions.
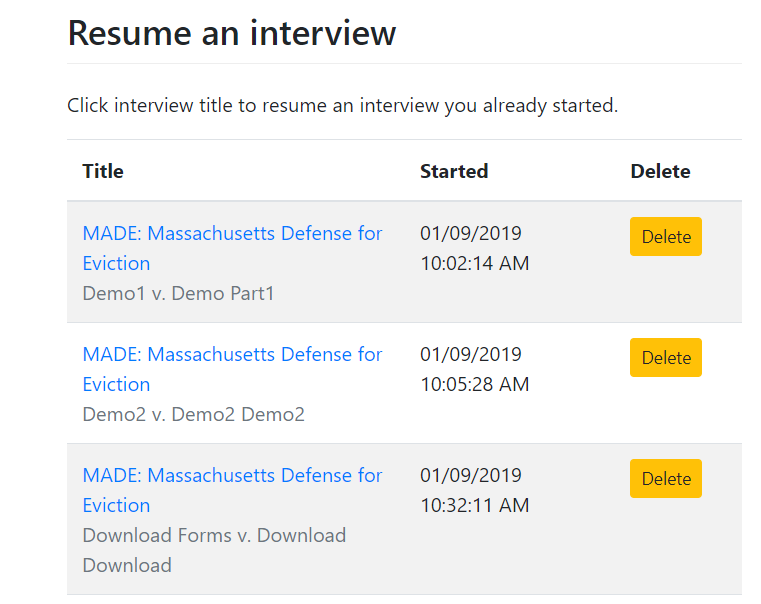
You have the option to click on the blue interview title to resume an interview in progress, or the Delete button to remove it from the server. Each interview includes the date, time, and the case caption for the interview session.
Sharing an Interview in Progress
It's possible to share a link to your progress in the interview with another person. This lets them access all of the information you have entered. If you have already entered a signature, the signature will still be there but other answers could be changed. You should only share the interview with someone you trust.
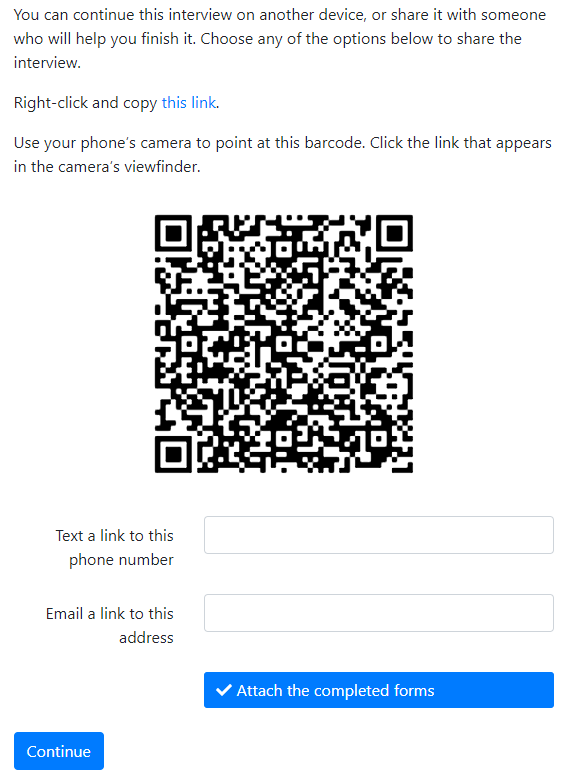
You have several options for sharing an interview. You can simply right-click and copy a link to the interview session. You can access it on a phone with the QR code (this feature varies from phone to phone). You can email a link, or you can text it.
Optionally, you can attach any forms that have been completed. This option is only meaningful if the interview has been finished. However, it will also send a link to edit the interview, so it should not be used to send the finished documents to an opposing party.
Adding a Signature
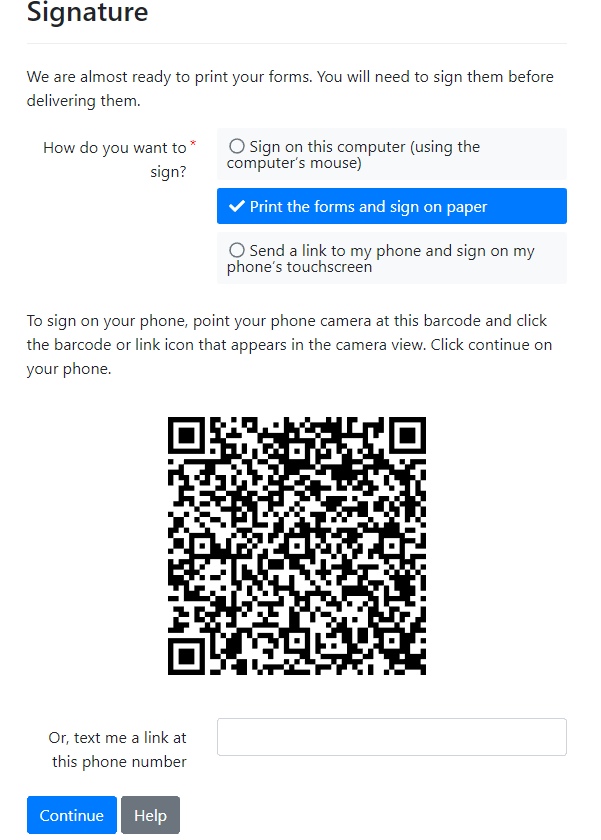
Just like with sharing the interview, when it's time to sign the forms, you have several choices. We recommend signing the forms on a touchscreen device, such as a smartphone, so your signature appears on all of the pages needed automatically. You can also choose to sign with your mouse or sign on paper. To get the link to your phone, you can text it or use the QR code reader on your smartphone. This feature varies from phone to phone, but it is sometimes as simple as pointing the phone's camera at the screen.
Downloading Your COmpleted Work
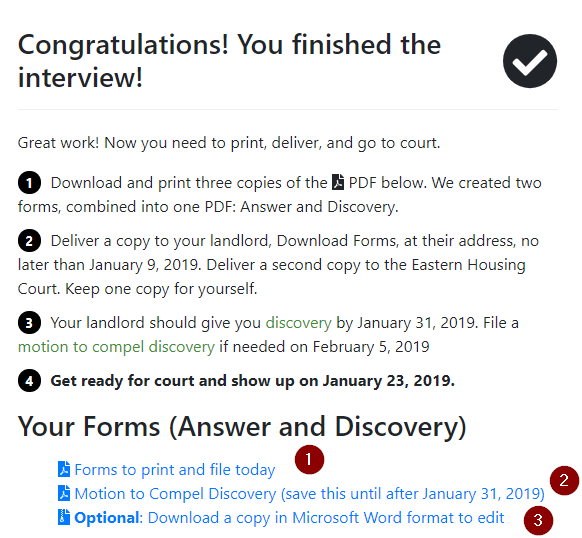
When you have finished the interview, you are presented with either 2 or 3 links.
- Click the first link to download a printable PDF with all of the generated forms included. This is ready to print and file in court and with your landlord.
- Optionally, you may see a link to download the Motion to Compel discovery form. This is not needed until 10 days after discovery has been served on the landlord. If you provided an email address or phone number, you won't see this download link. Instead, you will get a reminder when it's time to file and a chance to fill it out online.
- Finally, you can optionally download a copy of all of the forms in Microsoft Word format. You will also get an archive copy of the individual PDFs. This lets you make any last-minute corrections that aren't possible directly within MADE, but isn't necessary for most users.
Sending Feedback and Reporting Errors
At any point, if the MADE system fails, you should fall back to completing the paper forms available in Legal Tactics. Specifically you will need:
- The Answer Form
- The Request for Discovery
Please report any errors to made@gbls.org. You can also report a bug or make a feature request on GitHub. You may need to login and create a GitHub account before you can submit a bug this way, but you can view progress of any feature requests or issues submitted by others, as well as a changelog of recent feature updates. MADE is maintained by Greater Boston Legal Services. Unfortunately, technical support is not available, but best efforts will be made to resolve any errors you have discovered.
The latest "draft" version of the MADE system, up for testing, will always be available at https://interviews-dev.gbls.org/start/eviction. If you want to assist with testing new features, please email made@gbls.org.